Sunday, February 12, 2012

Homemade Deodorant

Homemade Deodorant
This deodorant turned out really good! I loved the smells I choose and everyone who tried it really liked it! We did find that a couple of us needed to reapply in the evening to keep off any smell. After a couple weeks of using this recipe my armpits started really itching! Like pretty bad! While researching recipes I found that this was a complaint for probably an allergy to the baking soda... I was the only one out of 10 to have this problem... So I will try another recipe soon to fix this! 
I hatted the fact of going back to deodorant with aluminum in it, but I couldn't handle the itching, and I need to wear something!
The recipe is easy! Here it is:
3 T Baking Soda
2 T Corn Starch
3 T Shea Butter
2 T Cocoa Butter
1 t Vitamin E
1 t Vegetable Glycerine
Essential Oil of choice


Melt all the ingredients except essential oils in a double broiler


Then add your essential oils (I just did to smell) and stir it in.
Pour into leftover deodorant containers or you can get some here.


Let them sit until solid. I put mine in the fridge to speed it up. 

This recipe filled 5- .50 oz deodorant container. 
I made 2 batches- one with Orange essential oils and one with Milk and Honey. They were both equally popular!
These can just hang out on your bathroom counter and use like regular!


Over the holidays we had a lot of family here! 
My parents had my brother and his wife from Amsterdam and there new little twins for a month! And I finally got to meet the little angels!! There were beyond perfect! And sooo cute!! X2!
 Baby Joey and Emma!

We couldn't get enough of them!
Natalie with Emma

Natalie giving Joey kisses
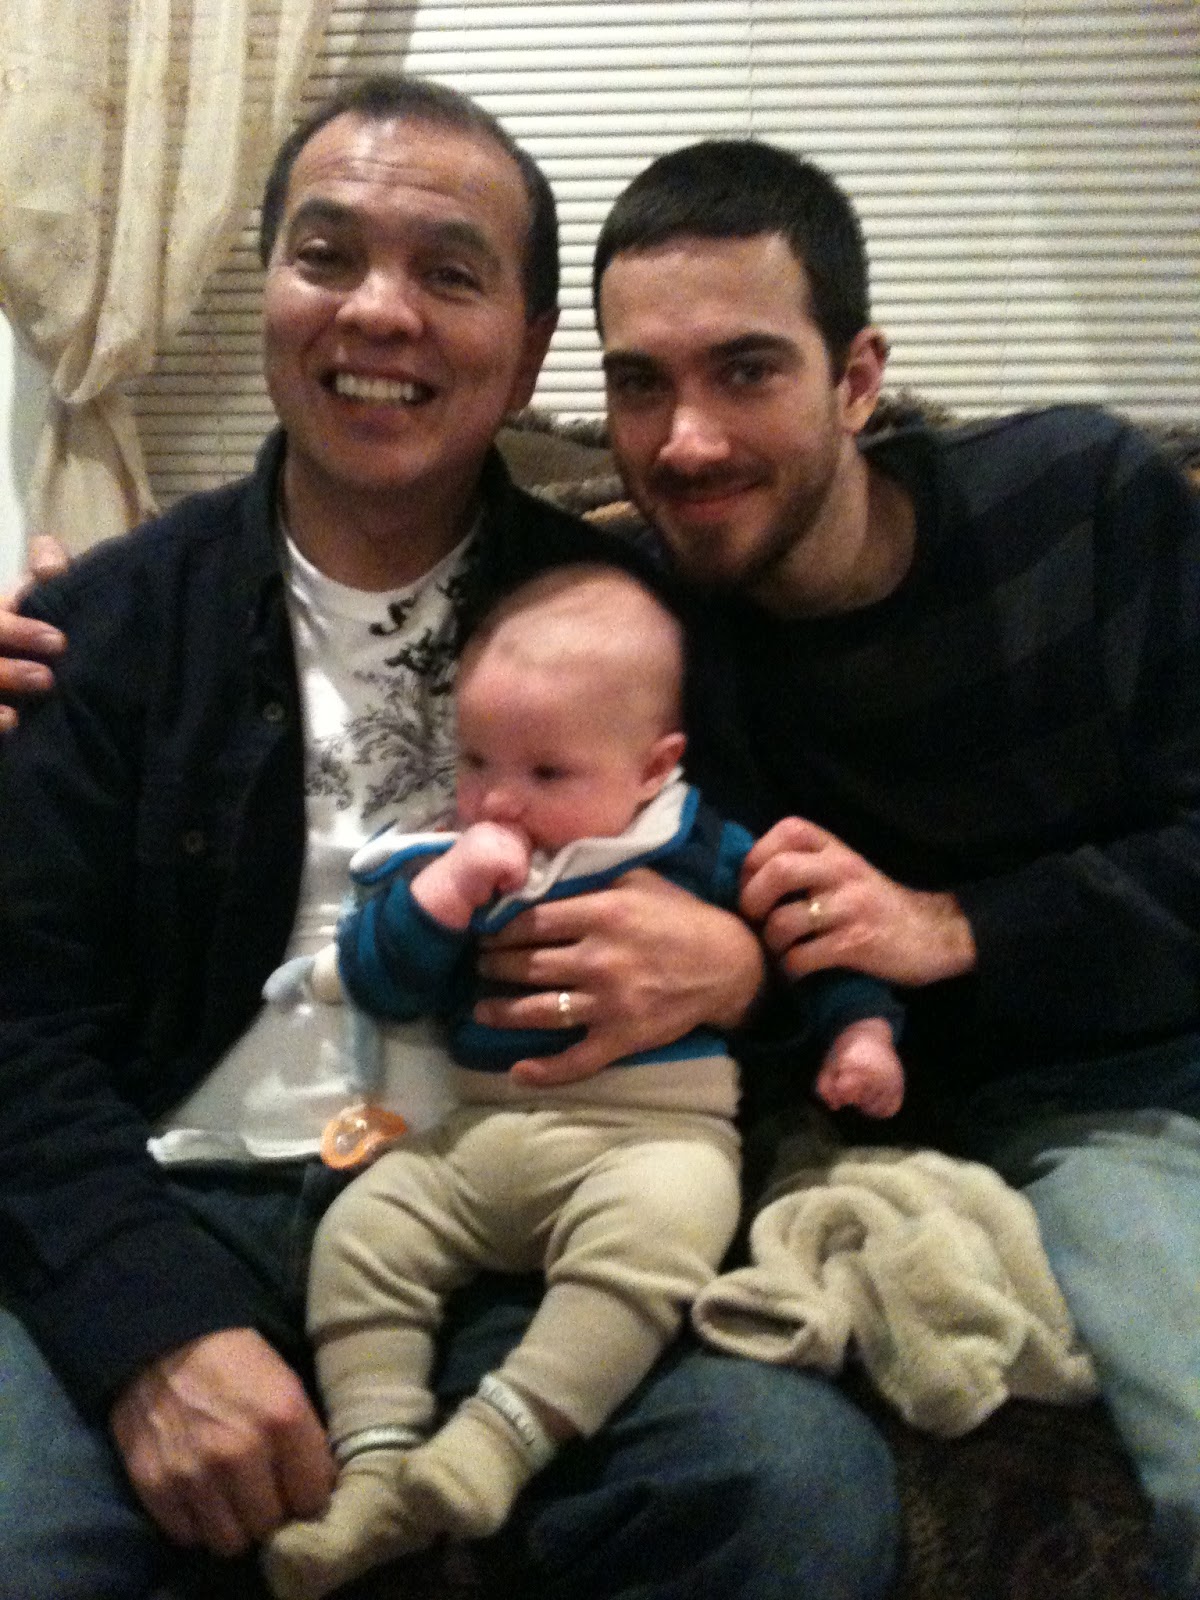
My dad, brother and nephew

Papa Joe loving being a grandpa!


Ryan's family was here also! Here was a busy place!
He had his grandpa and grandma from New Jersey here for 10 days over Christmas. Grandma from California, 103(almost 104)year old Great grandma from New Jersey here from before Christmas until The beginning of Feburary! Full house! 

Here is Nanny and Brooklyn: 100 year age difference!

:)

Also, Ryan's brother, Tyler, was here for the last weekend they were all here. He lives in Texas now. (ya, they are all over the US).

Surprisingly Natalie took to him right away! 


It was a fun, busy 2 months! :)

Wednesday, February 8, 2012

Peppermint pattys

So my computer is working.... ok! Anyways, so I thought I would upload some pictures and see what happens! lol.

So, over Christmas I was on a budget and made snack gifts for grandparents and parents and one of the popular treats I made was homemade peppermint pattys. Here is the recipe I made (off Pinterest) that turned out amazing!


Homemade Peppermint Patties 

Makes: About 30 Candies
14 ounces Sweetened Condensed Milk
6 ½ cups Confectioners Sugar
1 tablespoon Peppermint Extract
3 cups Dark Chocolate, Chopped
2 tablespoons Shortening

In the bowl of stand mixer, beat together the sweetened condensed milk, 3 cups of powdered sugar, and the peppermint extract.  Add the remaining powdered sugar, ½ cup at a time, until the dough is stiff but still easy to handle. 

Using your hands, grab a small 1-inch piece of dough and roll it into ball.  Flatten the ball into a round disc and place on a baking sheet.  Repeat with the remaining dough.  Place the discs into the freezer to chill for about 30 minutes.

In the meantime, melt the chocolate.  Place the chocolate in a heatproof and microwave-safe bowl.  Microwave the chocolate for 30 seconds, then remove it and stir.  Place it back in the microwave and repeat microwaving for 30 seconds and stirring until the chocolate has completely melted and is smooth.  Add the shortening and stir until it has completely melted into the chocolate. 

When the patties have hardened and are thoroughly chilled, remove them from the freezer and place them on the counter next to melted chocolate.  Place a large piece of wax paper next to the melted chocolate.

Place one patty on top of one fork and dip into the chocolate.  Using another fork, coat the patty completely and carefully place it onto the wax paper.  Repeat with the remaining patties.

Allow the patties to cool on the wax paper until hardened.   To speed up the process you can place the patties in the refrigerator to chill.  Keep in the refrigerator until ready to serve.  Enjoy!

These peppermint patties last up to 2 weeks when kept in an airtight container in the refrigerator.


This recipe was a big hit! I hope you enjoy them as much as we did! :)